
Introduction #
Integrating Slack with Notification Master allows you to send notifications directly to your Slack channels. This feature ensures that your team stays updated with important events from your WordPress site in real-time. Follow these steps to configure the Slack integration.
Benefits of Slack Integration #
- Instant Notifications: Receive real-time updates directly in your Slack channels.
- Team Collaboration: Keep your team informed about important events and changes.
- Customization: Personalize the messages sent to your Slack channels.
Step-by-Step Guide to Integrate Slack with Notification Master #
Create a Slack App #
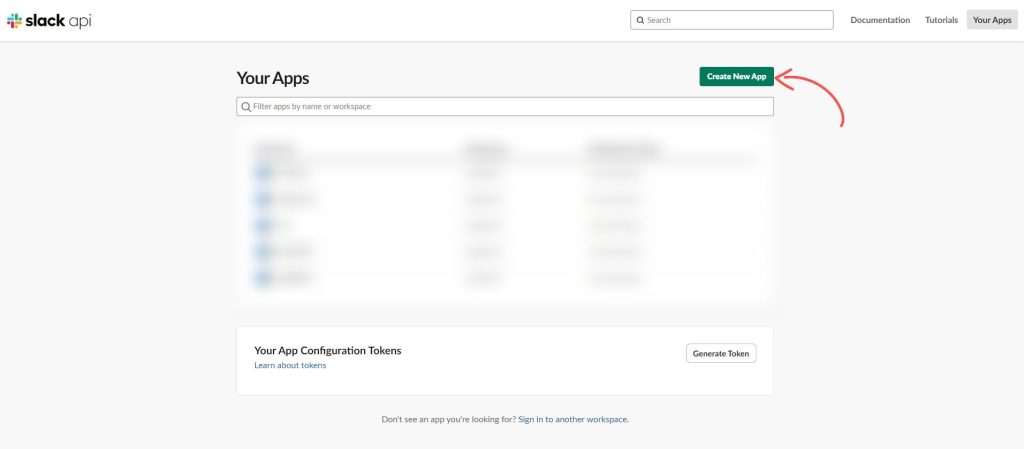
Go to the Slack API:
- Visit the Slack API.
Create a New App:
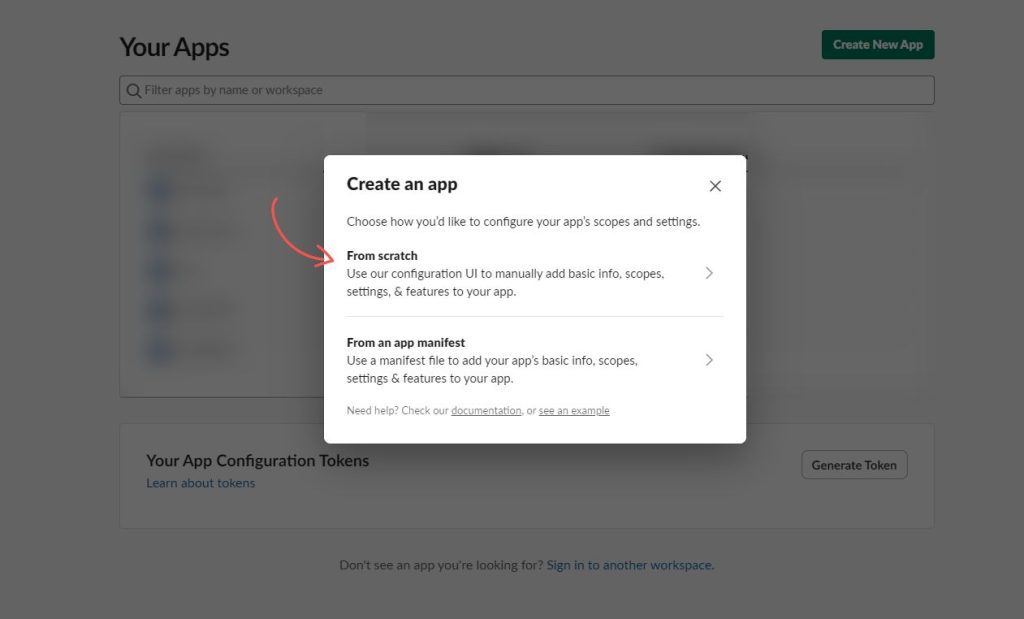
- Click on “Create an App.”
- Select “From scratch.”
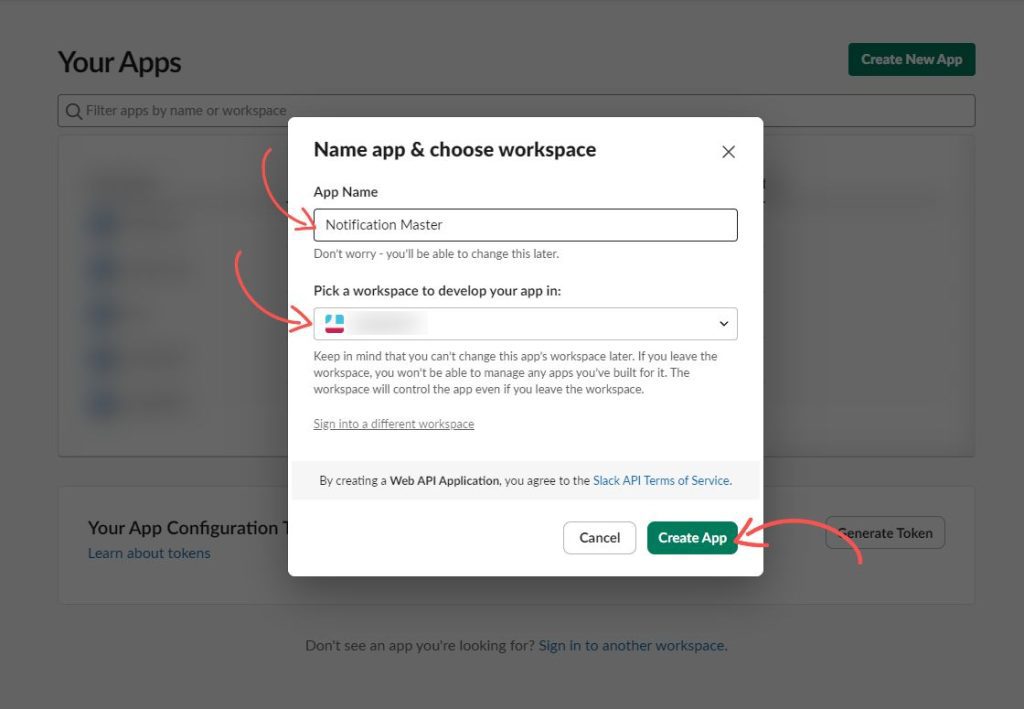
- Enter an App Name and choose the workspace you want to develop your app in.
- Click “Create App.”
Set Up Incoming Webhooks
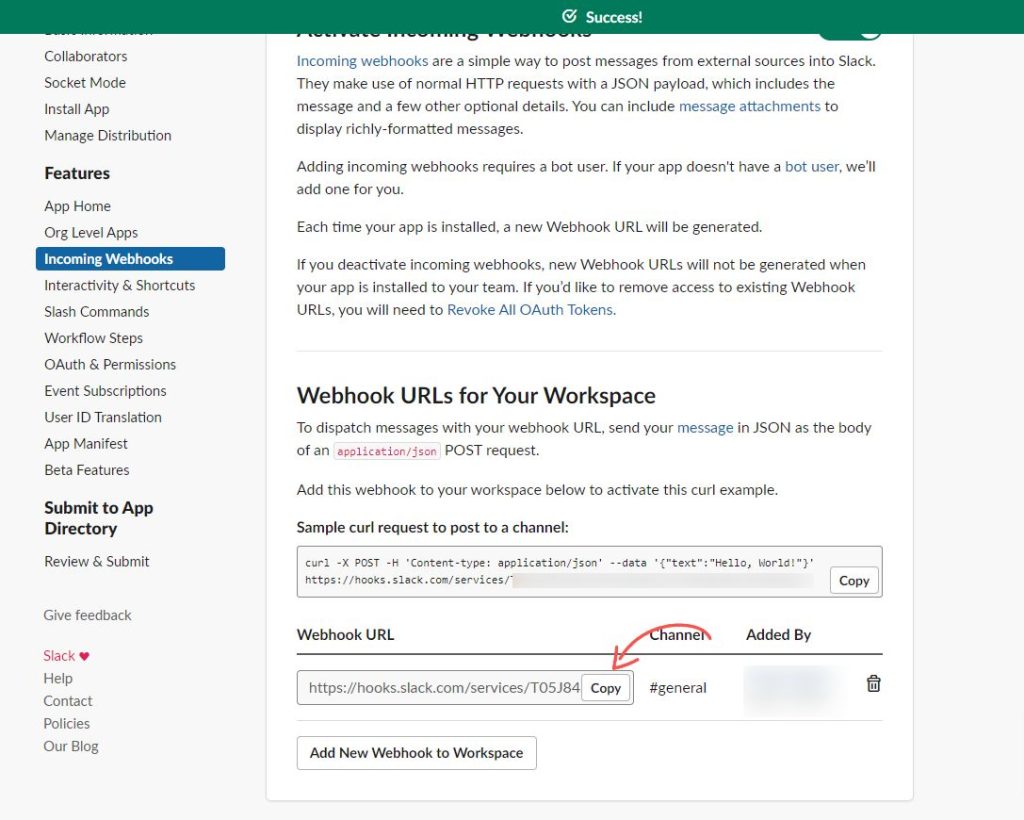
- Enable Incoming Webhooks:
- In the left-hand menu, select “Incoming Webhooks.”
- Click the toggle to activate “Incoming Webhooks.”

Create a Webhook URL:
- Scroll down and click on “Add New Webhook to Workspace.”
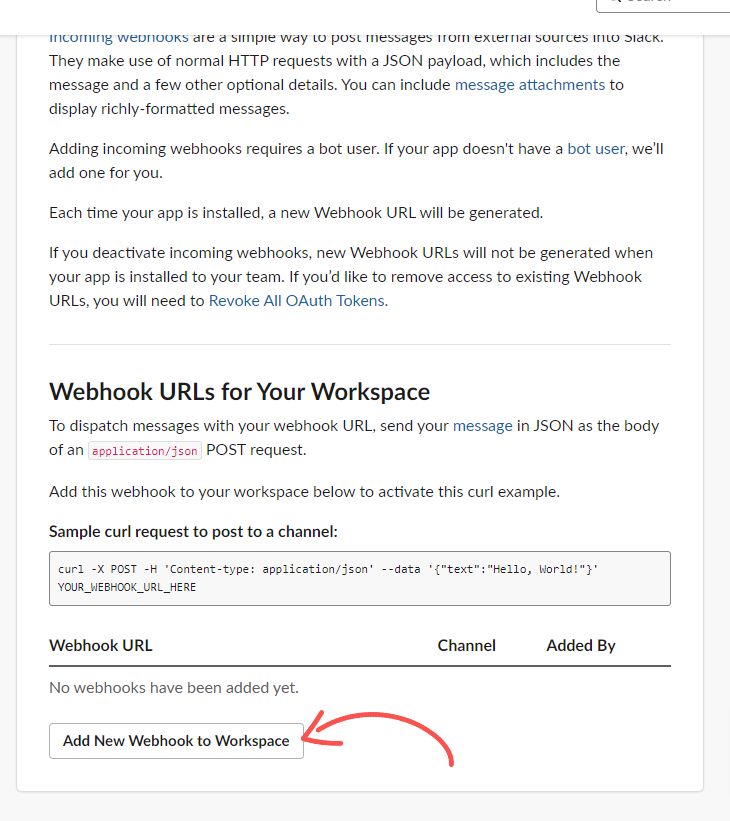
- Select the channel you want to send notifications to and authorize the app.
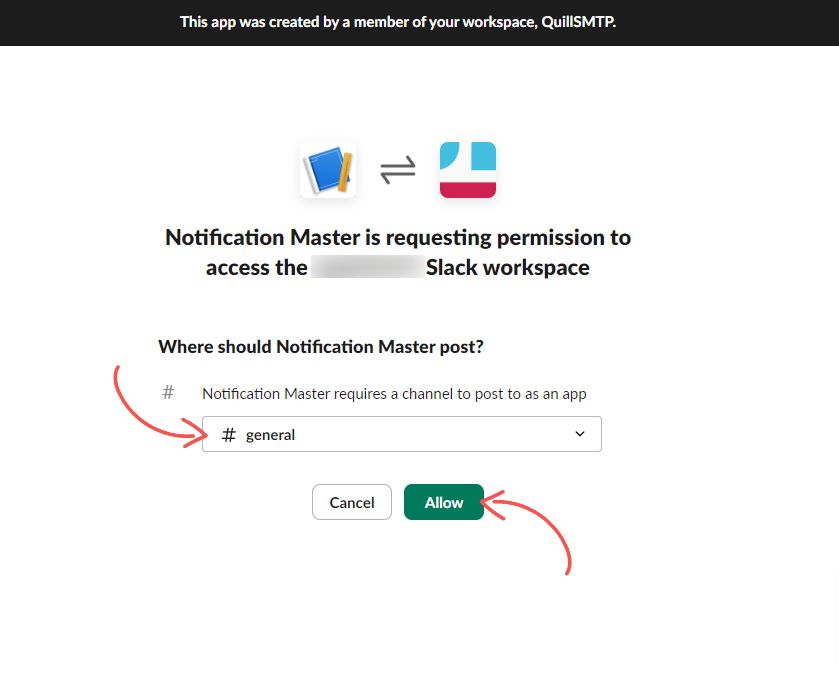
- Copy the generated Webhook URL.
Add the Webhook URL in Notification Master #
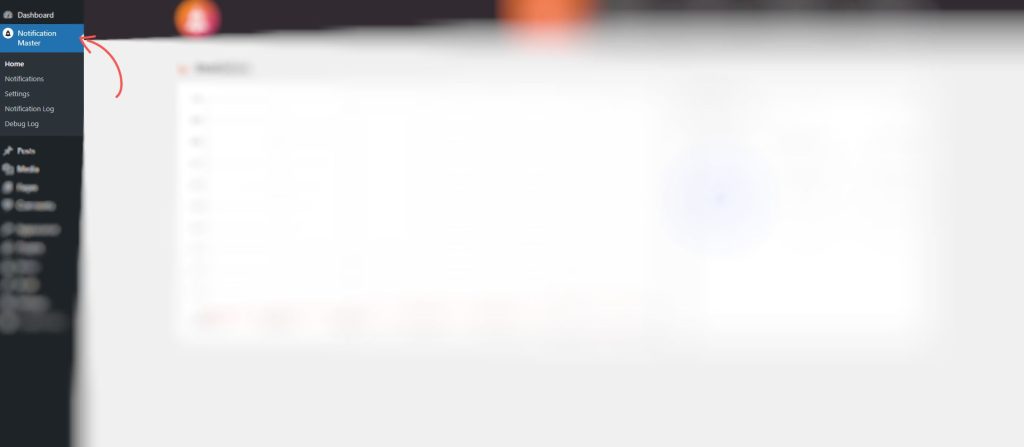
Navigate to Notification Master:
- From the main menu on the left, scroll down and click on “Notification Master.”
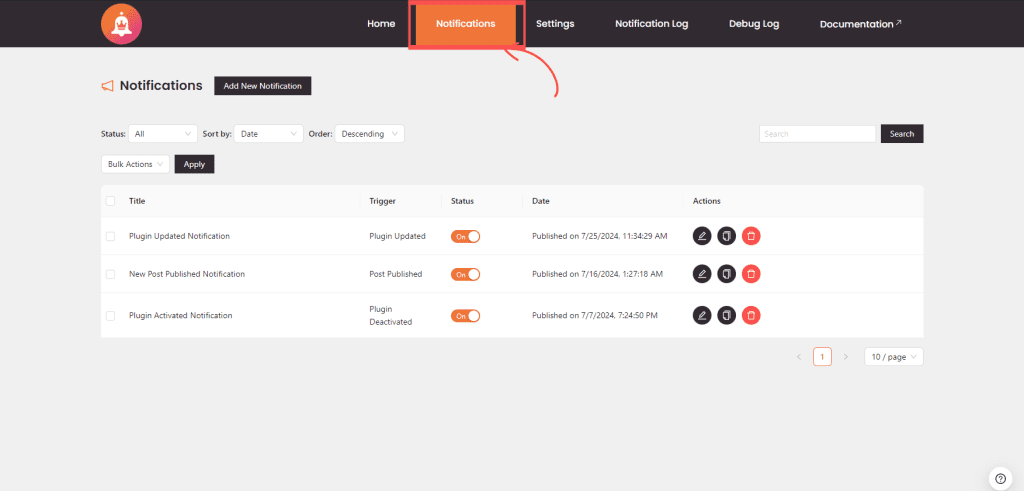
Access Notifications:
- Click on the “Notifications” tab.
- Select an existing notification or create a new one by clicking “Add New Notification.”
Add a Webhook Integration
You can add a Slack integration to an existing notification or while creating a new notification. If you’re unsure how to add a notification, please follow our Get Started guide.
To Add an Integration:
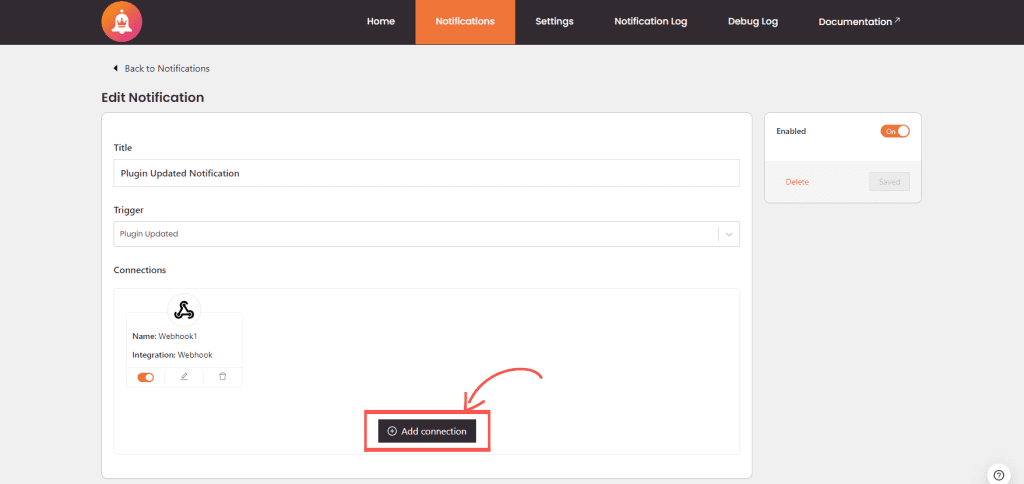
- In the notification configuration settings, scroll down to the Connections section.
- Click on Add Connection to create a new connection for this notification.
Configure the Slack Integration
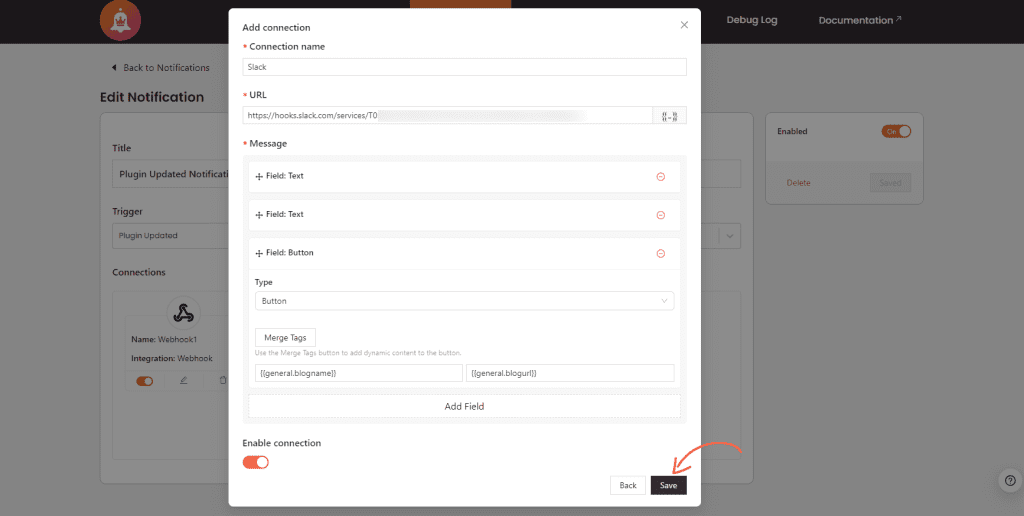
- Connection Name:
- Enter a name for your integration to easily identify it later. This field is required.
- URL:
- Enter the webhook URL.
- Set Up Message Fields:
- Under the “Message” section, click on “Add Field.”
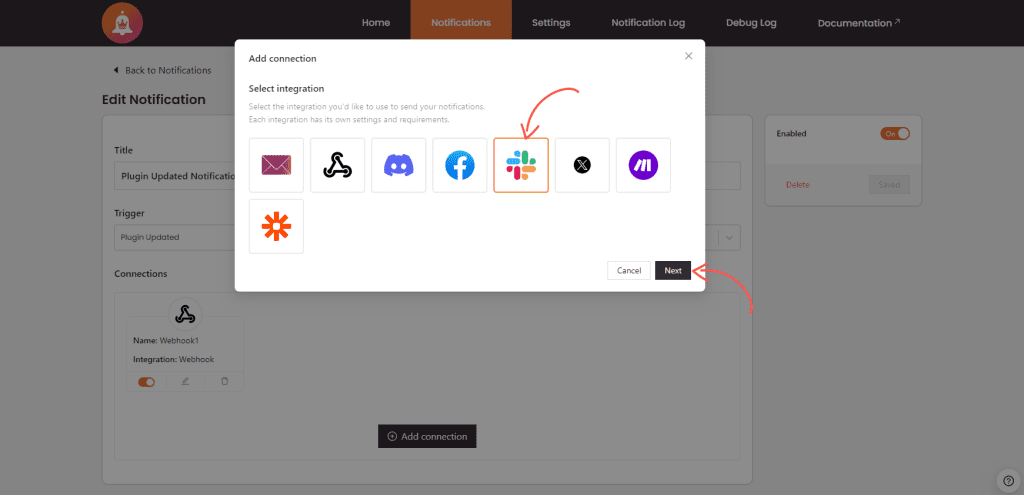
- Choose from the available field types: Text, Button, Image, or Divider.
- For Text, enter the message content. Use the “Merge Tags” button to add dynamic content.
- For Button, specify the button text and URL.
- For Image, enter the image URL.
- For Divider, add a divider to structure your message.
- Click “Add Field” to save the settings.
- Enable Integration:
- Ensure this switch is toggled on to activate the slack integration.
- Save the Integration:
- After configuring the slack settings, click Save to save the slack integration. This will close the connection modal and apply the settings to your notification.
Finalize and Save the Notification
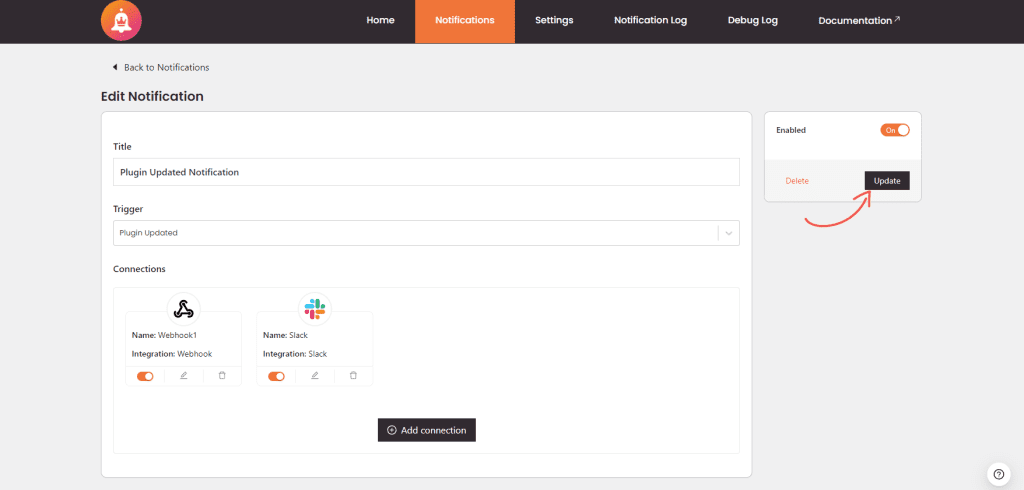
Updating the Notification:
- Finally, click Update to update and save your notification configuration. Your notification is now ready to send data via the slack integration you configured.
- Ensure that all necessary integrations, including the newly added slack integration, are properly configured.
- To ensure your notification is active, toggle the activation switch if it isn’t already on.
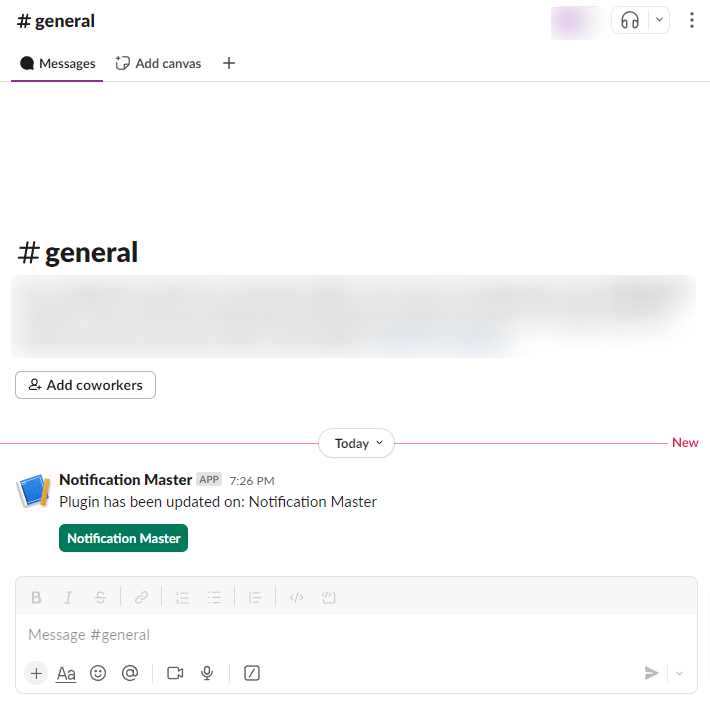
Result After a Plugin is Updated #
Conclusion #
By following these steps, you can integrate Slack with Notification Master and streamline your notification process. This integration helps maintain timely communication with your team and ensures everyone stays updated with the latest events on your WordPress site. For more detailed information or support, refer to the official documentation or contact our support team.


