
Introduction #
Webhook integration in Notification Master allows you to send notifications to external services by making HTTP requests. This guide will walk you through the steps to add a webhook integration to either an existing notification or a new notification on your WordPress site. Notification Master is a powerful WordPress plugin that simplifies the process of managing and sending notifications for various events on your website.
Steps to Add a Webhook Integration #
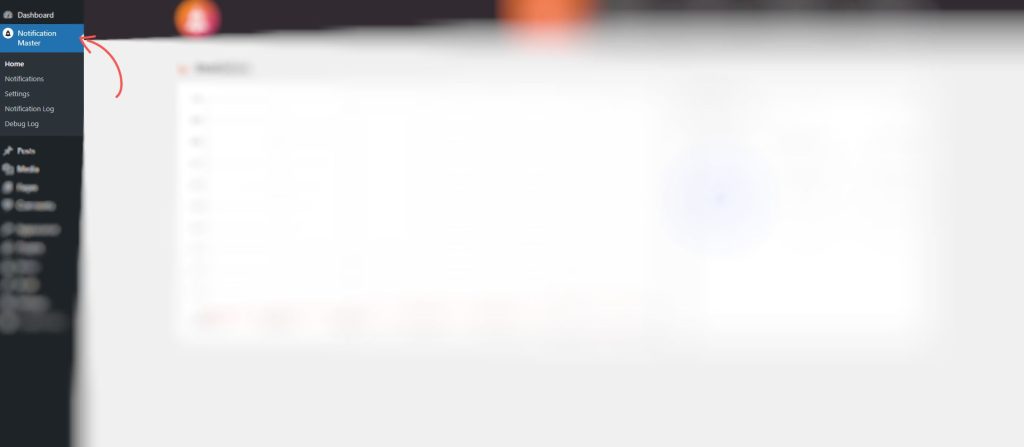
1. Navigate to Notification Master #
Accessing Notification Master:
- From the main menu on the left, scroll down and click on Notification Master.
- This will open the main interface of the Notification Master plugin, where you can manage all your WordPress notifications.
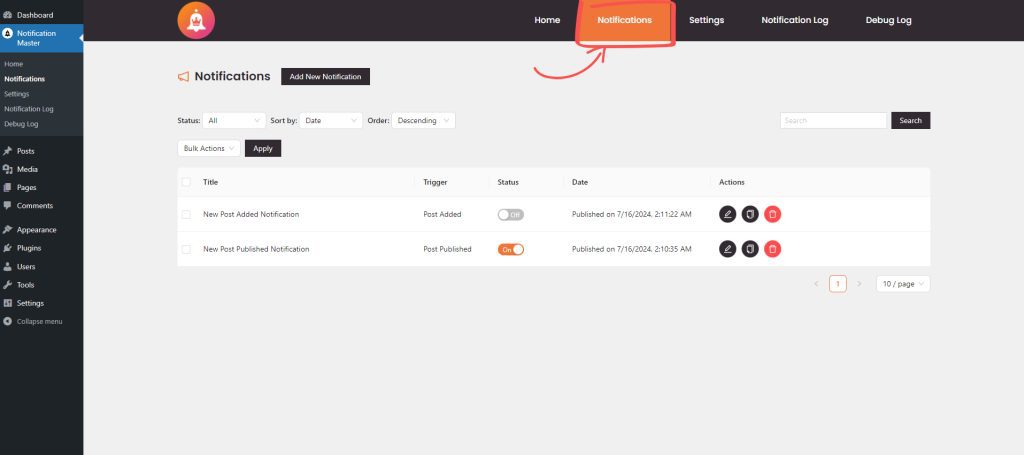
2. Access Notifications #
Opening the Notifications Tab:
- Locate the Notifications tab within the Notification Master interface.
- Click on the Notifications tab to view a list of all existing notifications. Here, you can manage, edit, or delete existing notifications.
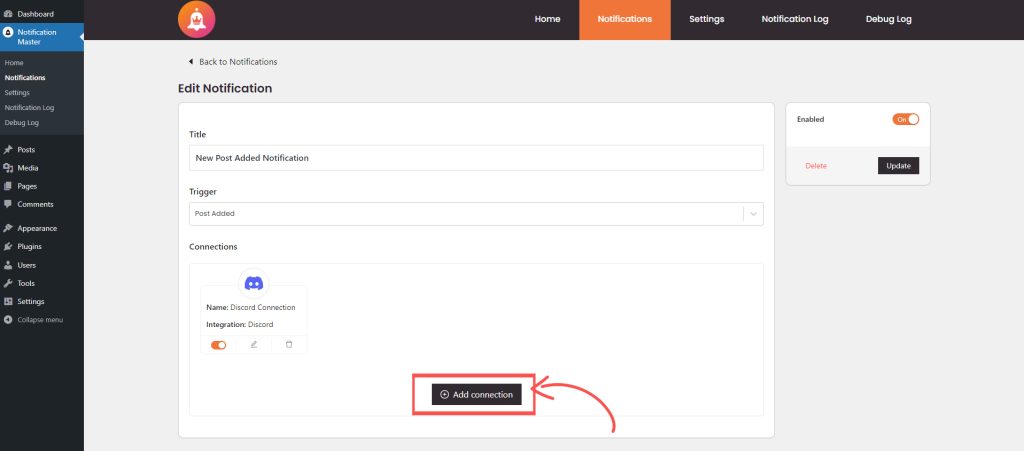
3. Add a Webhook Integration #
You can add a Webhook integration to an existing notification or while creating a new notification. If you’re unsure how to add a notification, please follow our Get Started guide.
To Add an Integration:
- In the notification configuration settings, scroll down to the Connections section.
- Click on Add Connection to create a new connection for this notification.
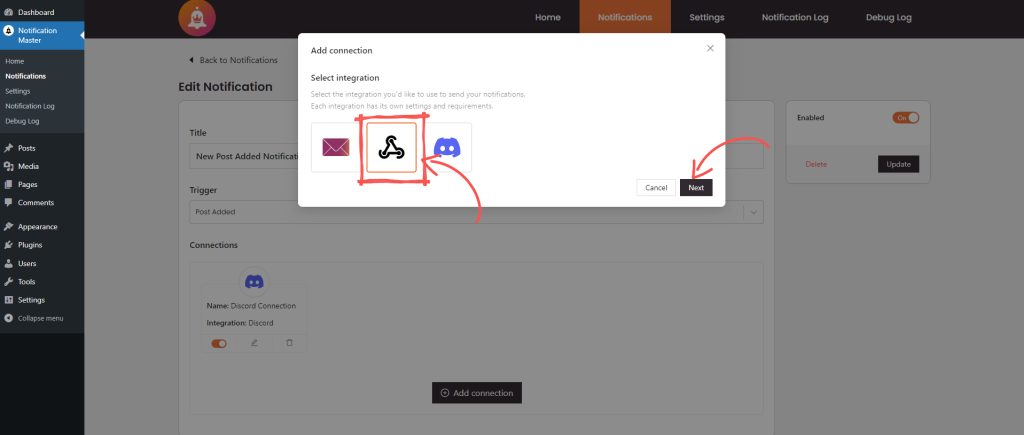
4. Configure the Webhook Integration #
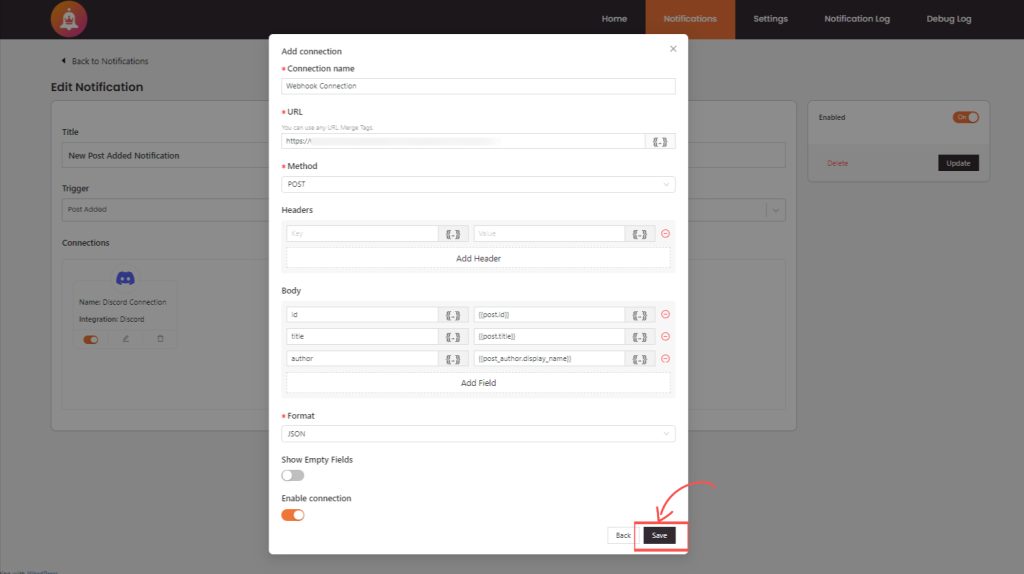
Setting Up Webhook Integration:
- Connection Name:
- Enter a name for your integration to easily identify it later. This field is required.
- URL:
- Enter the URL where the webhook will send the notification. You can use URL Merge Tags to dynamically insert values. This field is required.
- Method:
- Select the HTTP method (GET, POST, PUT, PATCH, DELETE) that matches your webhook endpoint requirements. This field is required.
- Headers:
- Add any necessary HTTP headers required by the webhook service. Click on Add Header to include multiple headers. Headers can include authorization tokens or other necessary metadata.
- Body:
- Define the fields that will be included in the request body. This is useful for sending specific data to the webhook. Click on Add Field to include multiple fields. You can use merge tags to dynamically insert content, such as
{{post.id}}or{{post.title}}.
- Define the fields that will be included in the request body. This is useful for sending specific data to the webhook. Click on Add Field to include multiple fields. You can use merge tags to dynamically insert content, such as
- Format:
- Select the data format for the request body. Options include JSON, Form URL Encoded, and others.
- Show Empty Fields:
- Enable this option if you want to include fields with empty values in the webhook payload.
- Enable Integration:
- Ensure this switch is toggled on to activate the webhook integration.
- Save the Integration:
- After configuring the webhook settings, click Save to save the webhook integration. This will close the connection modal and apply the settings to your notification.
5. Finalize and Save the Notification #
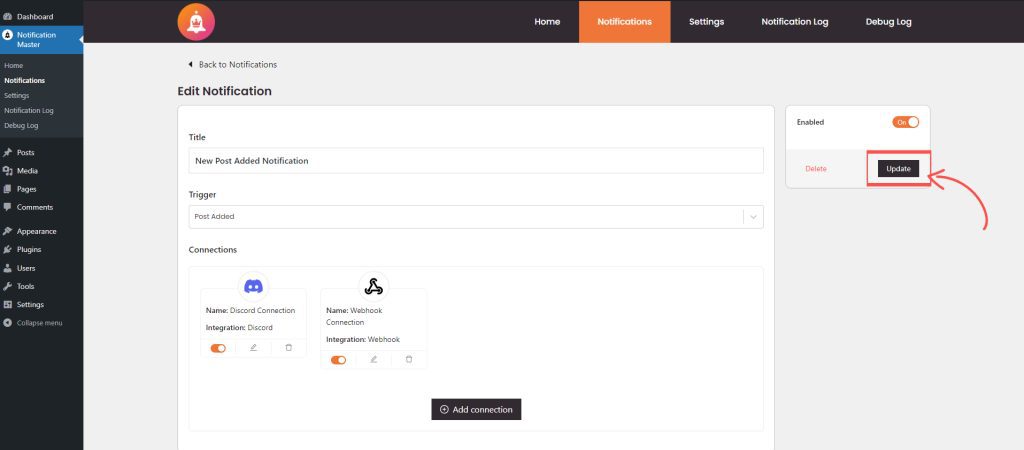
Updating the Notification:
- Ensure that all necessary integrations, including the newly added webhook integration, are properly configured.
- To ensure your notification is active, toggle the activation switch if it isn’t already on.
- Finally, click Update to update and save your notification configuration. Your notification is now ready to send data via the webhook integration you configured.
Using Merge Tags #
You can use merge tags to dynamically insert values into your webhook fields. To use merge tags, click on the merge tag icon next to each input field. This feature allows you to customize the data sent by the webhook with dynamic values from your WordPress site.
Conclusion #
By following these steps, you can effectively add and configure a webhook integration to an existing notification or create a new notification in Notification Master. This feature enhances the flexibility of your WordPress notification system, allowing you to integrate with various services and automate workflows. For more detailed guides on using Notification Master, refer to our comprehensive documentation or contact our support team.


