Introduction #
Integrating the Notification Master plugin with WhatsApp Cloud API allows you to send automated WhatsApp messages from your WordPress site to your customers or team based on specific triggers.
Benefits of WhatsApp Integration #
- Real-time Alerts: Instantly notify users via WhatsApp when key events occur (e.g. WooCommerce order, form submission).
- High Engagement: WhatsApp has high open rates — ideal for critical alerts.
- Scalable Messaging: Use Meta’s Cloud API to send messages at scale securely.
Steps To Create A Facebook Developer Account And Generate An Access Token #
Create a Facebook Developer Account:
- Go to the Facebook for Developers website and log in with your Facebook account.
- Click on Get Started and follow the prompts to create your developer account.
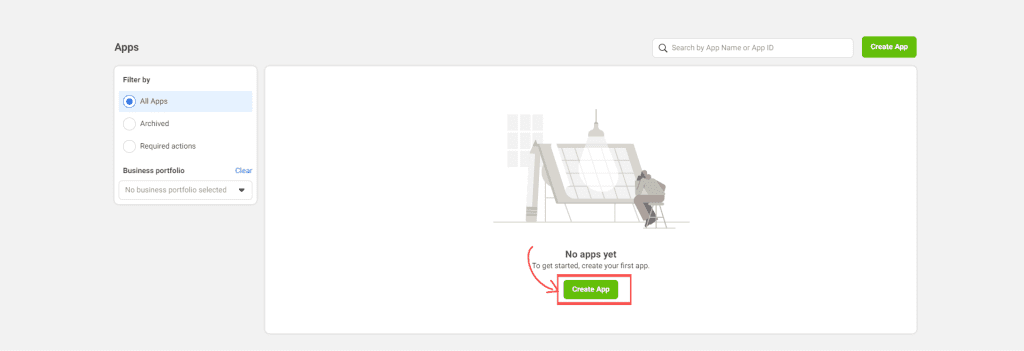
Create a New App: #
- In the Facebook Developer Dashboard, click on Create App.
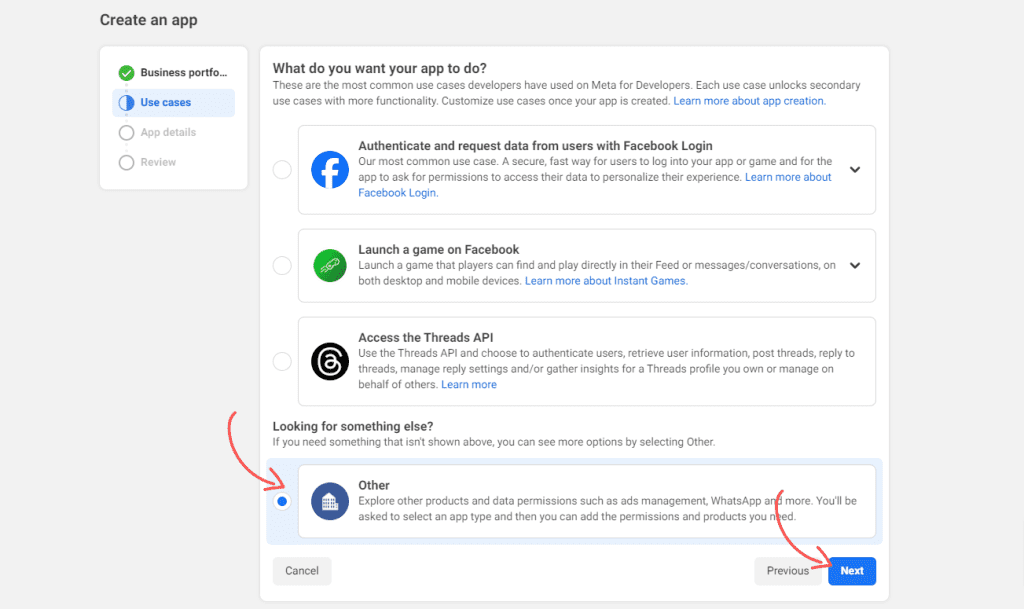
Select App Purpose: #
- On the “Create an App” page, select Other under “What do you want your app to do?” and click Next.
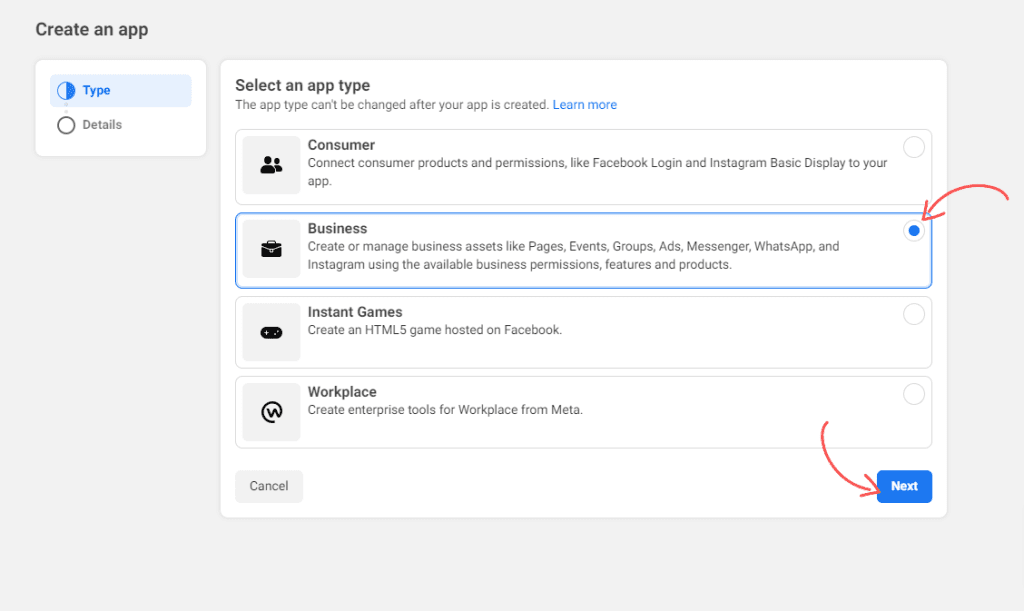
Select App Type: #
Choose Business as the app type and click Next.
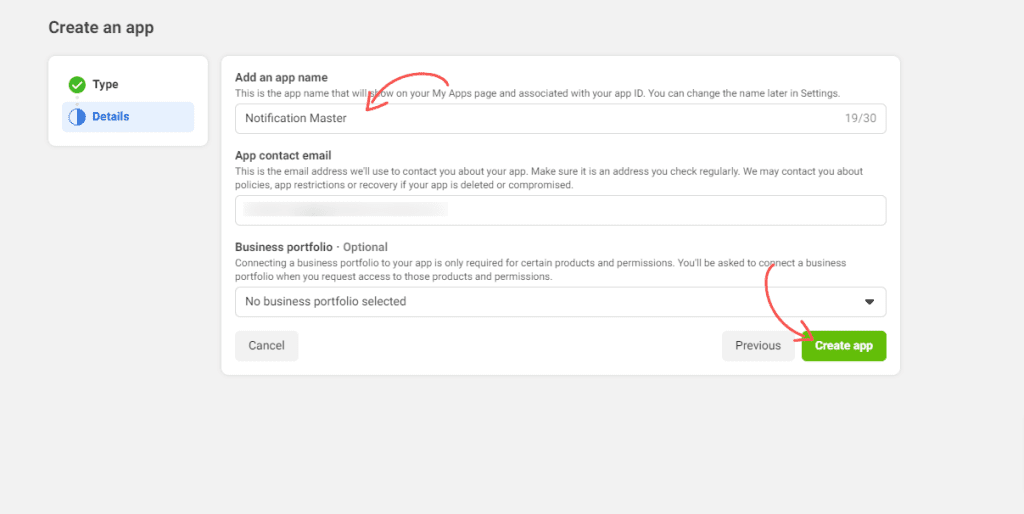
App Details: #
- Enter the app name and contact email, then click Create App.
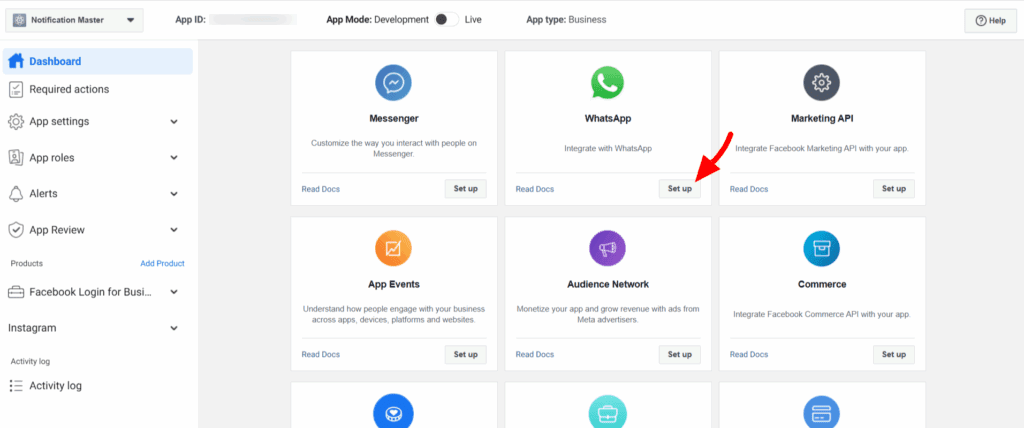
Add the WhatsApp Product #
- Go to Products > Add Product.
- Scroll down and click Set up on WhatsApp.
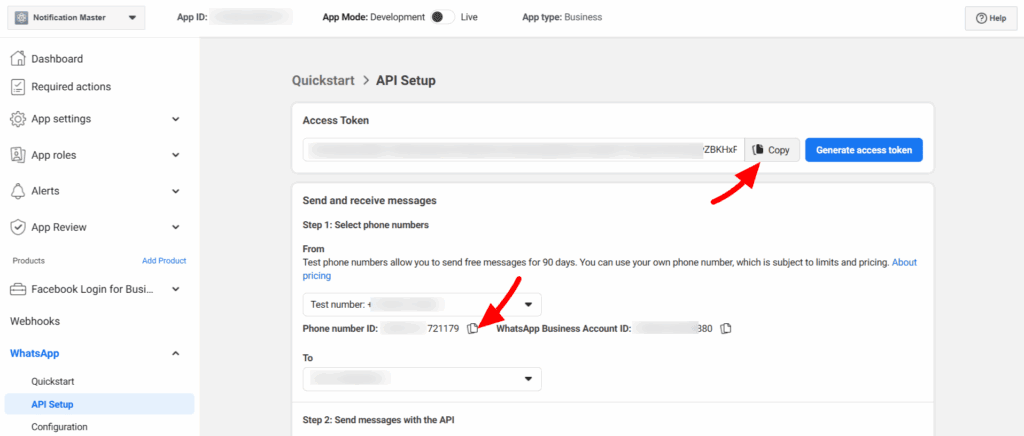
- In the API Setup, Go to Access Token section and click Generate access token.
- Copy your Access Token.
- Copy the Phone Number ID
Steps To Add A WhatsApp Integration In Notification Master Plugin #
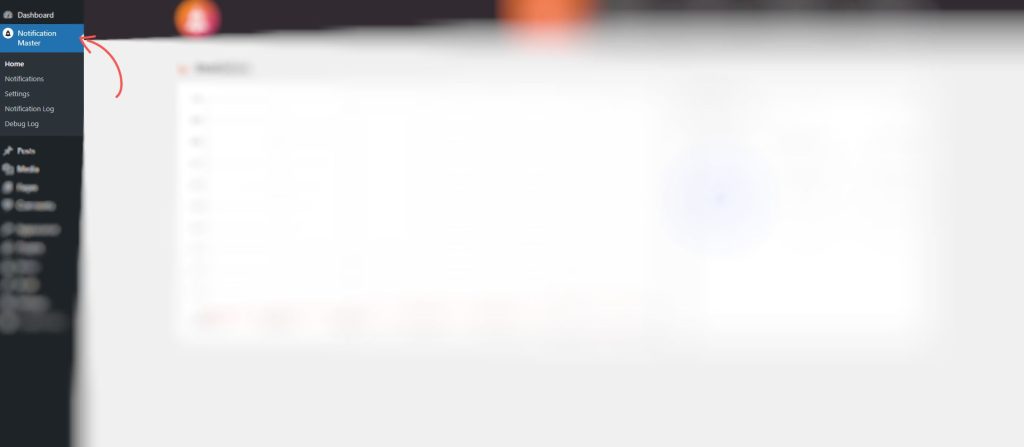
1. Navigate to Notification Master #
Accessing Notification Master:
- From the main menu on the left, scroll down and click on Notification Master.
- This will open the main interface of the Notification Master plugin, where you can manage all your WordPress notifications.
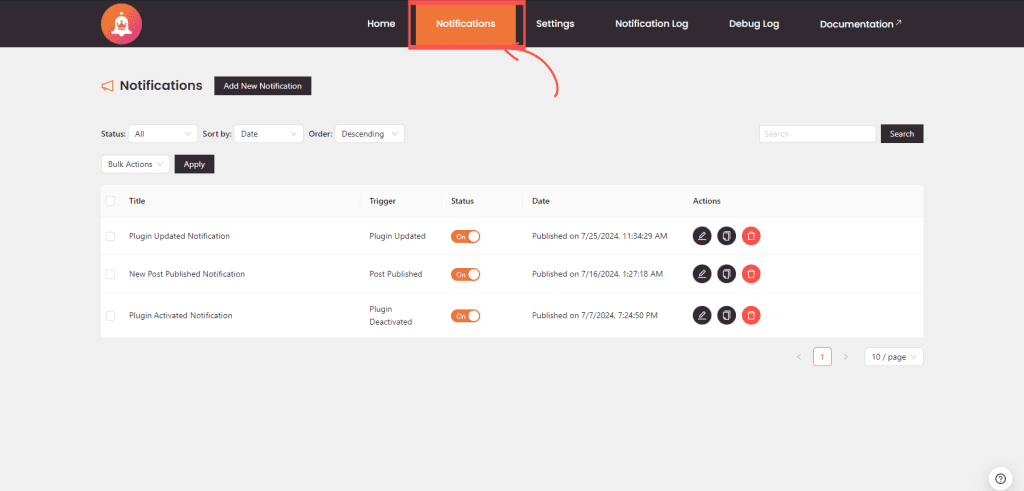
2. Access Notifications #
Opening the Notifications Tab:
- Locate the Notifications tab within the Notification Master interface.
- Click on the Notifications tab to view a list of all existing notifications. Here, you can manage, edit, or delete existing notifications.
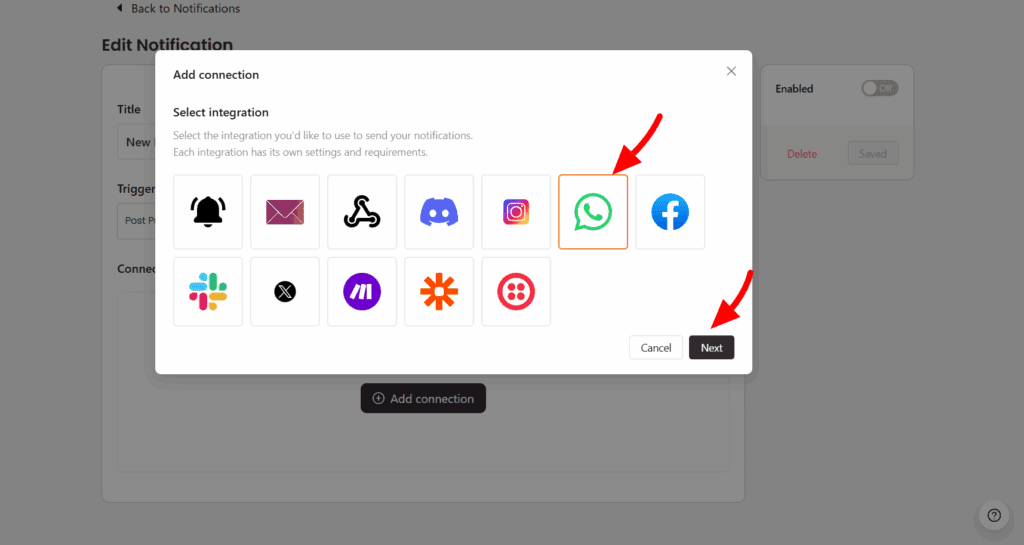
3. Add a WhatsApp Integration #
You can add a WhatsApp integration to an existing notification or while creating a new notification.
To Add an Integration:
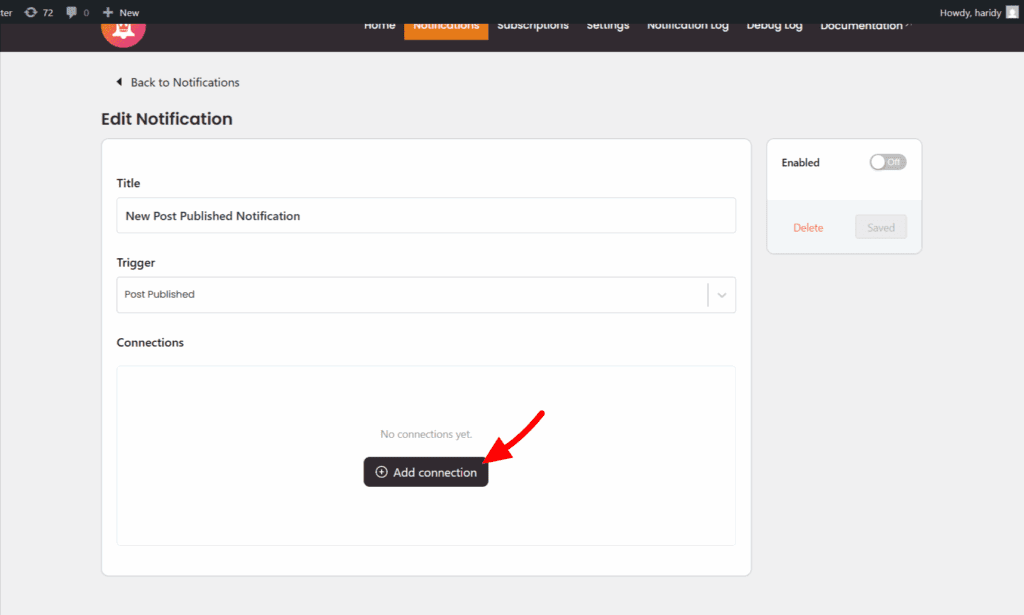
Click on Add Connection to create a new connection for this notification.
In the notification configuration settings, scroll down to the Connections section.
4. Configure the WhatsApp Integration #
- Access Token: Your token from Meta Cloud API.
- Phone Number ID: From the WhatsApp section in the Meta App.
- Recipient Phone Number: phone number with country code (e.g., 14155552671).
- Message Type:
Text— for plain text messages.Image— for messages containing an image with an optional caption.
- Image URL: If the message type is Image, paste the direct URL or Merge Tag of the image you want to send.
- Caption: If sending an image, you can optionally add a caption that will appear below the image in WhatsApp.
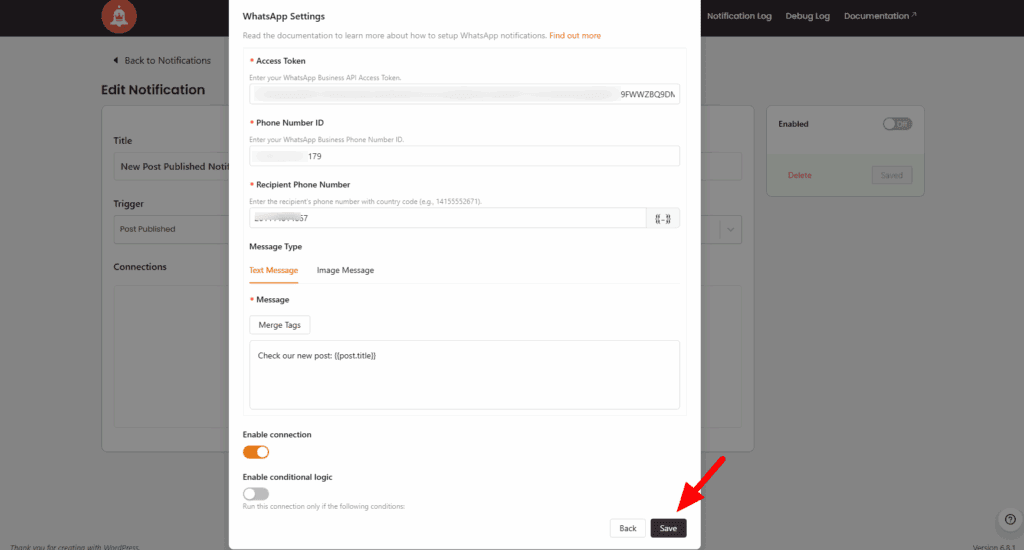
5. Finalize and Save the Notification #
Updating the Notification:
- Finally, click Save to update and save your notification configuration. Your notification is now ready to post updates to your WhatsApp account page based on the specified triggers.
- Ensure that all necessary integrations, including the newly added WhatsApp integration, are properly configured.
- To ensure your notification is active, toggle the activation switch if it isn’t already on.
Conclusion #
By integrating WhatsApp into Notification Master, users can send high-impact notifications directly through the world’s most popular messaging app. With a few simple configuration steps, powerful automated workflows can now include WhatsApp alongside Email, Discord, Webhooks, and more.


